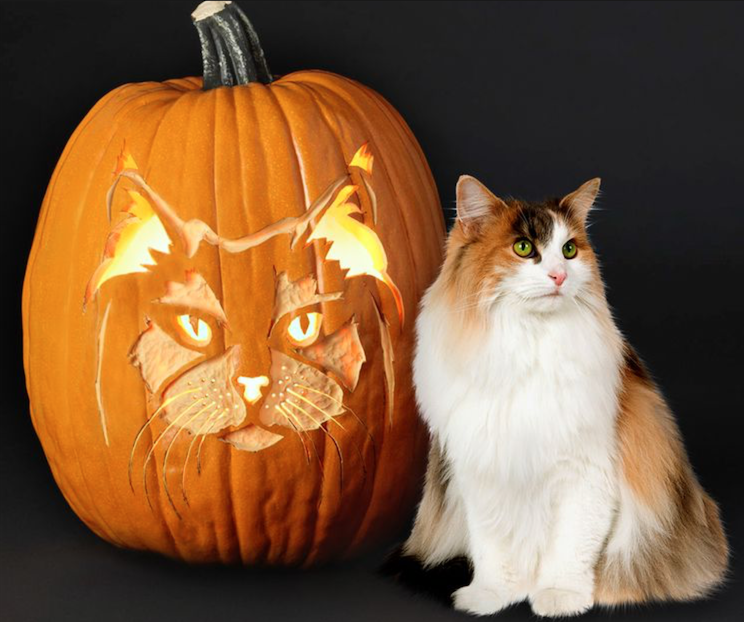
DIY Cat Pumpkins

October means fall, and fall means pumpkin season! While carving pumpkins are fun, they tend not to last very long (3 – 5 days at most once cut in to), so for the past two years, I have made it a tradition to paint pumpkins instead! I typically paint/craft one of each of my cats for Halloween, and thought it’d be a cute idea to pass along so others may make their own kitten pumpkins!
What you will need:
- Pumpkin (Preferably, a Sugar Pumpkin)
- Paint (Acrylic preferably)
- Paintbrush
- Pipecleaners (Optional)
- Yarn
- Felt
- Scissors
- Hot glue gun

First, you’ll start with painting your pumpkin. A sugar pumpkin is, in my findings, best to work with, as it is not too big nor too small and is pleasantly round and thus easy to work with! It’s best to start at the top and wait for it to dry before flipping it to rest on its stem and painting the bottom. Once it dries, you can go over it with another layer or glide the brush over spots you might have missed. I use acrylic paint and while it seems to hold to the pumpkin rather well, it may chip off just a little, so it might be beneficial to check it over once more once it finishes drying.
I use a big brush to coat the pumpkin itself then switch to a smaller, finer brush for the eyes and nose (if needed) and any finer details, such as stripes, spots, patches, etc.
Whether you wish to paint the stem or not is totally up to you!

Once your pumpkin is dry and properly painted to your liking, it is time to cut out what will become the ears, paws, and tail. If you are doing the full body (ears, paws, and tail) I find smaller paws look better while the ears and tail should be a bit larger. To make things easier and quicker, fold the felt over itself in four layers and cut out the paws. Do the same for the ears, except with two layers. The tail itself is on a single layer.

For whiskers, I tend to use yarn, though pipe cleaners may be a potential substitute (as long as you don’t stab it too deep into the pumpkin! Remember, any incision might cause quicker rot!) Unravel a portion of yarn and slice it at the point you deem fit. You don’t want to make it too big or too small (yarn can be expensive to waste!), but you can always trim them if the former occurs. Cut your severed thread of yarn in half and segment them each into three segments. They don’t have to be totally symmetrical, though they shouldn’t be too inconsistent either or they might look a bit odd!

Once you’ve cut every thing out, it’s time to glue them on. Heat up your hot glue gun and lay out the pieces near your pumpkin. When the glue is ready, carefully lather some on the edge you wish to stick down and press it to the pumpkin. For the ears, if you are wishing for a more natural look, curve/pinch the sides inwards as you stick it down. Do the same for the other one. The whiskers are by far the trickiest to put on and the highest burn risk (burnt the heck out of my finger applying a pair!). You can either plop a dab of glue on the pumpkin, bundle up the whiskers and go for it, or bunch up a pair of three in your fingers, leaving a bit of the tip exposed, dab a bit of glue on it, and gently lean it into the spot you wish for them to be. Next come the paws and the tail. Run the glue along the edges and carefully align them in their proper spots. I tend to position the front paws a little closer together than the back ones, and find it easier to just hold the paws in the rough position of where you want them to be while the glue very quickly anchors it to the spot. For the tail, you want to put it as close to the center of the back of your pumpkin as you can get it. If done correctly, you can (gently) swish your pumpkin and watch its little tail bounce and swish!

When your pumpkin begins to rot, you can simply pull off the little ears tails and whiskers (depending on how they come off) and save them for next year if you wish to recreate the same kitty pumpkin.

And there you have it! Go craft a pumpkin kitten litter of your own!


That kitty is so precious! I must pet!
Report commentCute idea
Report commentWhat a brilliant pumpkin decoration! You are really talented!
Report commentLove this
Report commentI love this!
Report commentThese are great
Report comment